
Overview
The Oracle P6 connector enables you to upload P6 schedule files to the Kroo platform and sync them to your data warehouse. This guide walks through navigating the Kroo web application to upload P6 schedules and assign them to the appropriate projects.Getting Started
Step 1: Access Oracle P6 Integration
From the Home page, click on Oracle P6. The integration should show a “Connected” status after initial implementation is complete.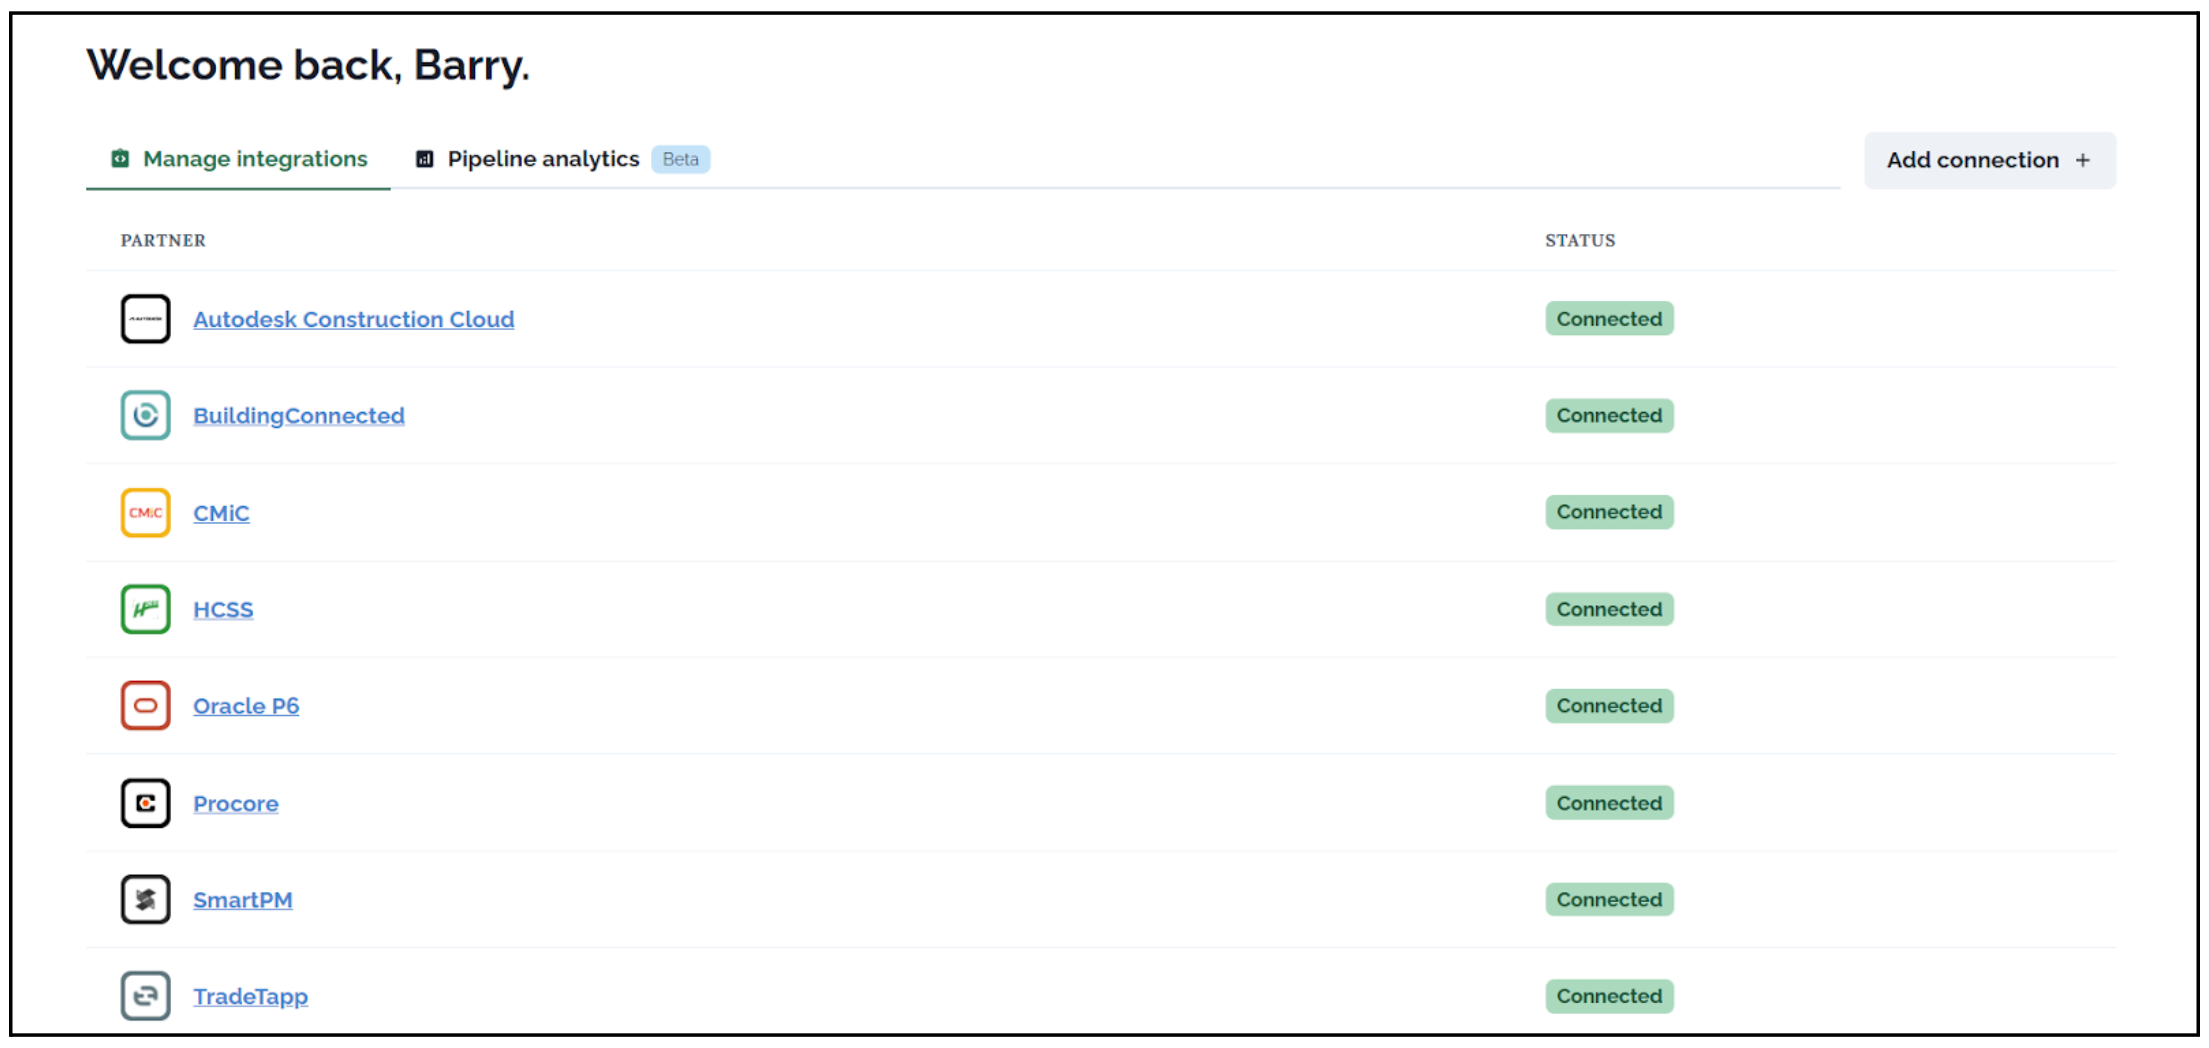
Step 2: Navigate the Integration Home
The Oracle P6 Integration Home page displays all previously uploaded P6 files to the Kroo platform.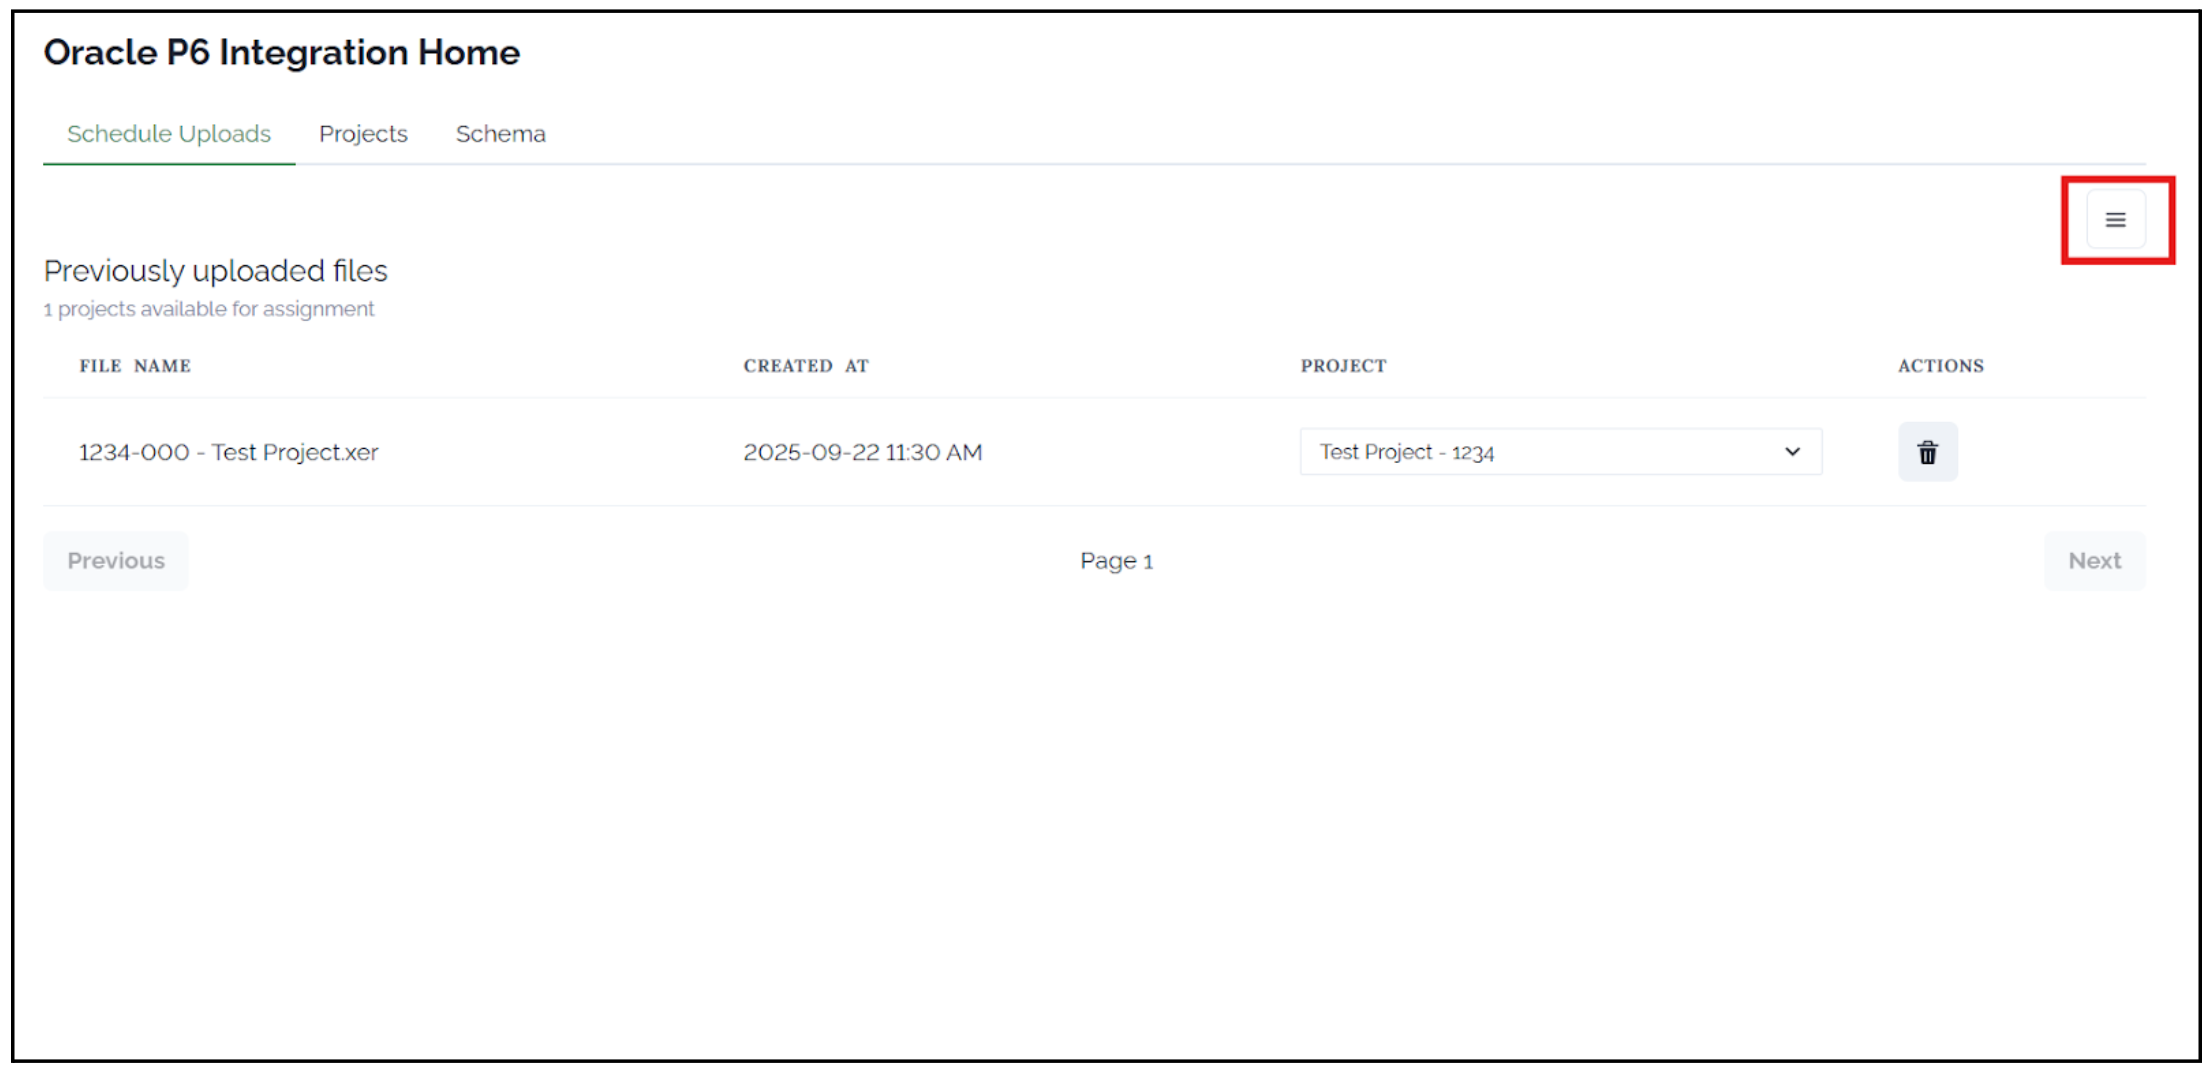
- File Name: The name of the uploaded schedule file
- Created At: The date and time of file upload
- Project: Active project assignments for each uploaded schedule file
- Actions: Options to delete uploaded schedule files as needed
Uploading P6 Schedule Files
Step 3: Initiate File Upload
To add a new P6 schedule, click the menu icon (☰) in the top-right corner of the page. Select “Upload Schedule Files” from the dropdown menu.Step 4: Upload Schedule Files
The Upload Files section will open, allowing you to upload P6 schedule data.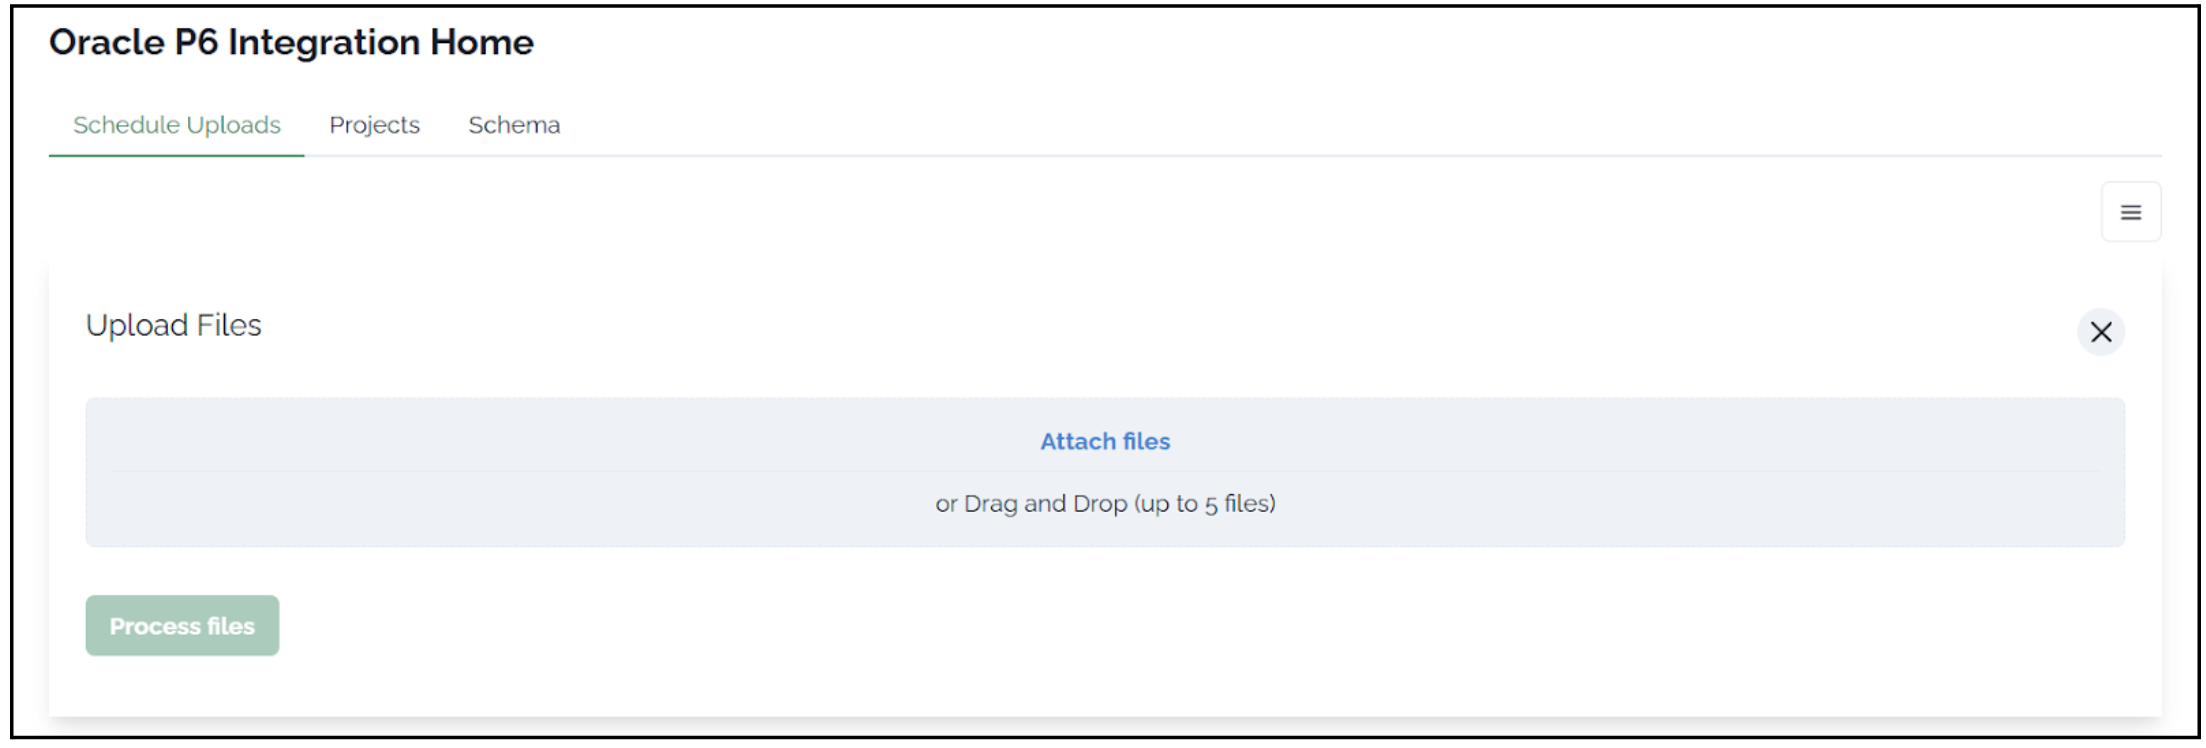
File Format Requirements
- Supported file types:
.xer(standard P6 export format) and.xmlfiles - Maximum of 5 files can be uploaded at once
- For more than 5 files, repeat the upload process (e.g., to upload 8 files, run the process twice)
- Click “Attach files” to browse and select files
- Drag and drop files directly into the upload area
Step 5: Assign Projects
After uploading schedule files (.xer or .xml format), you must associate each schedule with a specific project. This step is crucial for proper data integration.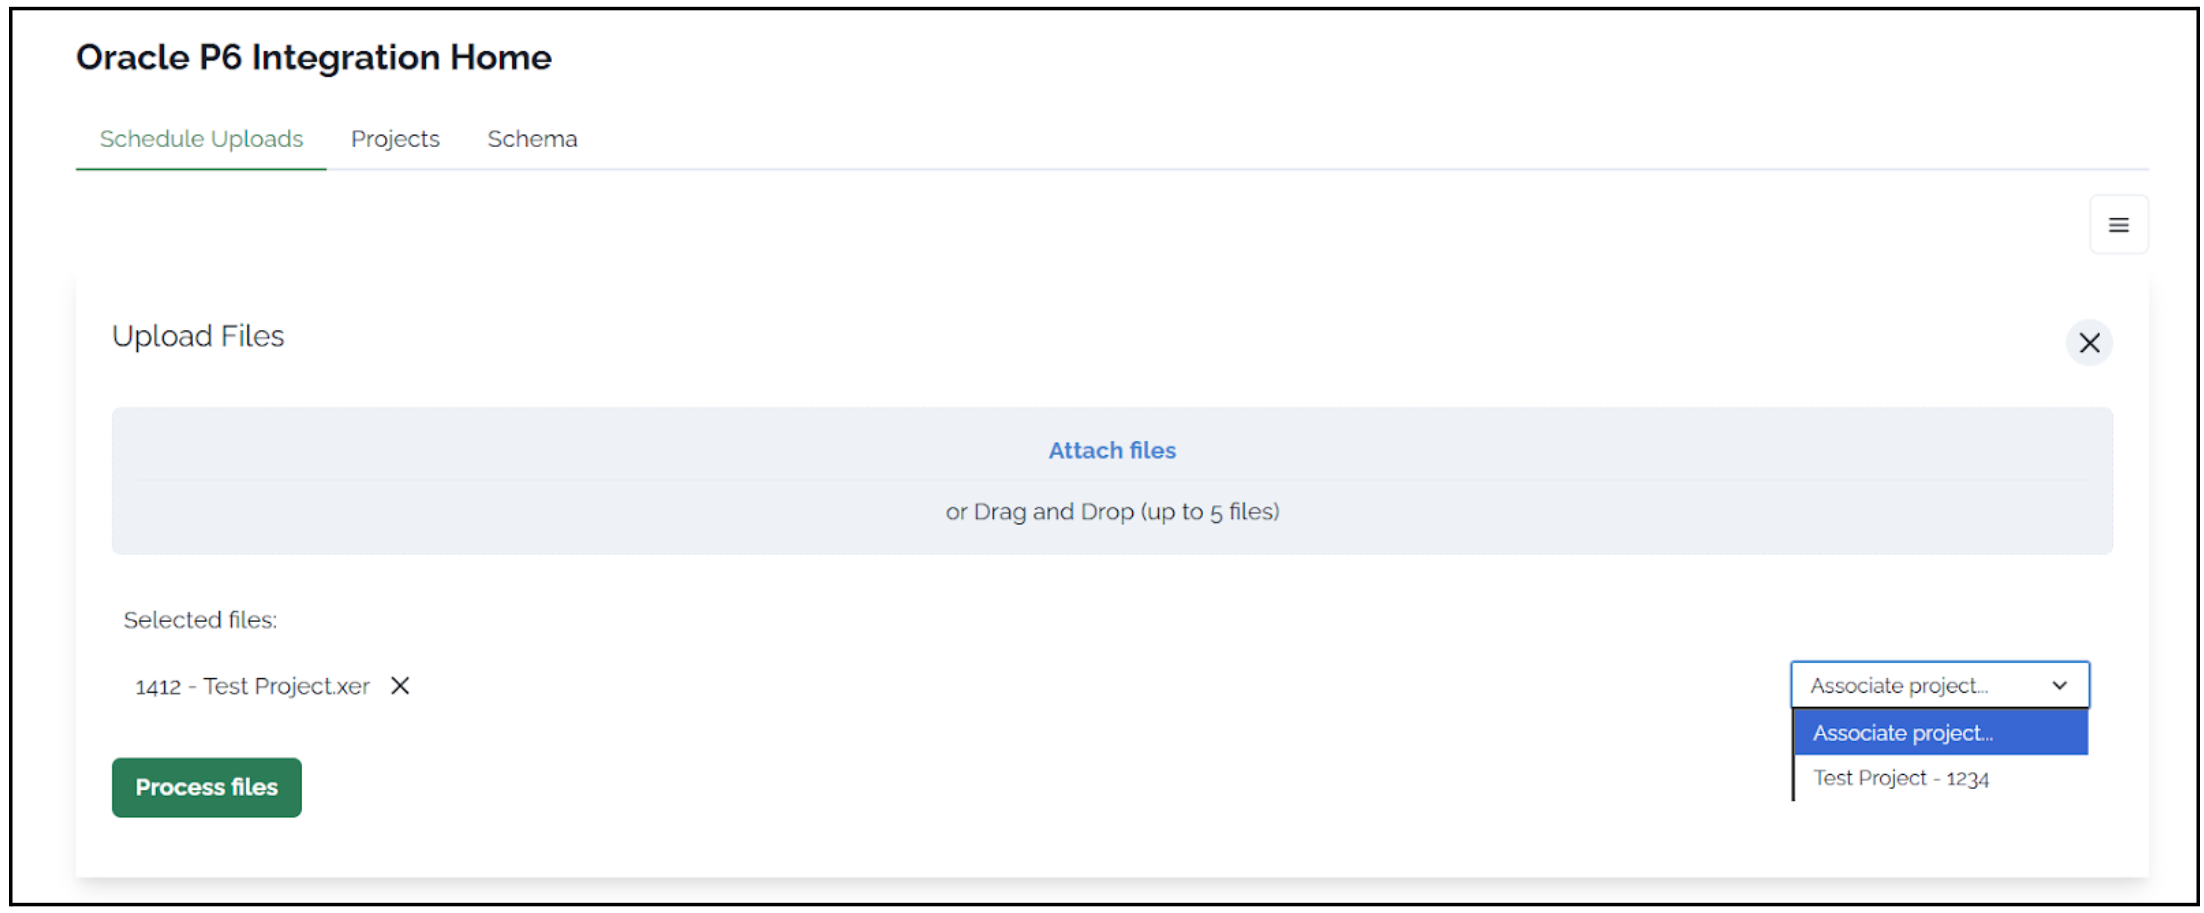
Step 6: Process Files
After assigning a project to each uploaded P6 schedule file:- Review your selections
- Click “Process files” to complete the upload
- Files will be processed and synced to your data warehouse
Additional Features
Projects Tab
Navigate to the Projects tab to view:- Summary of all active projects
- Associated Project IDs
- Number of schedules uploaded per project
- Filtering and sorting options (click the three-bar icon in column headers)
Schema Tab
The Schema tab provides an interactive visualization of your P6 data structure:- View table relationships and hierarchies
- Click on relationships to explore parent and child tables
- Understand data connections for building dashboards
- Helpful for PowerBI, Tableau, or Looker implementations
Using Your P6 Data
Once your P6 data is uploaded and processed:- Access data through your data warehouse
- Build reports and dashboards in any data visualization software
- Join P6 data with other project systems using the assigned project IDs
1
Connect to Data Warehouse
Access your P6 tables through your configured data warehouse connection
2
Build Visualizations
Create dashboards in PowerBI, Tableau, Looker, or other BI tools
3
Integrate with Other Systems
Use project IDs to join P6 data with Procore, Autodesk, and other platforms
Best Practices
- Regular Updates: Upload updated schedule files regularly to maintain current data
- Consistent Naming: Use consistent file naming conventions for easier tracking
- Project Assignment: Always assign the correct project before processing files
- Batch Processing: Upload up to 5 files at once for efficiency
Need Help?
Contact your Kroo team for assistance with:- Exporting .xer or .xml files from Oracle P6
- Project assignment questions
- Data warehouse access
- Dashboard development support